This article describes how to deploy a NodeJS project from a Bitbucket repository to an EC2 instance in AWS, showing the flow and integration of the different resources involved, such as AWS CloudFormation, AWS CodeBuild, AWS CodePipeline, and AWS CodeDeploy.
CodeBuild is a continuous integration service that will allow to compile the code coming from the Bitbucket repository, as well as carry out the packaging with the necessary dependencies and store the artifact obtained in an S3 bucket.
With the CodePipeline service, automated pipelines will be carried out during the compilation and implementation phases of the launch process each time a code modification is made. This will allow code updates quickly and reliably.
And finally, the Code Deploy service will allow automating the delivery of code to the AWS EC2 instance service.
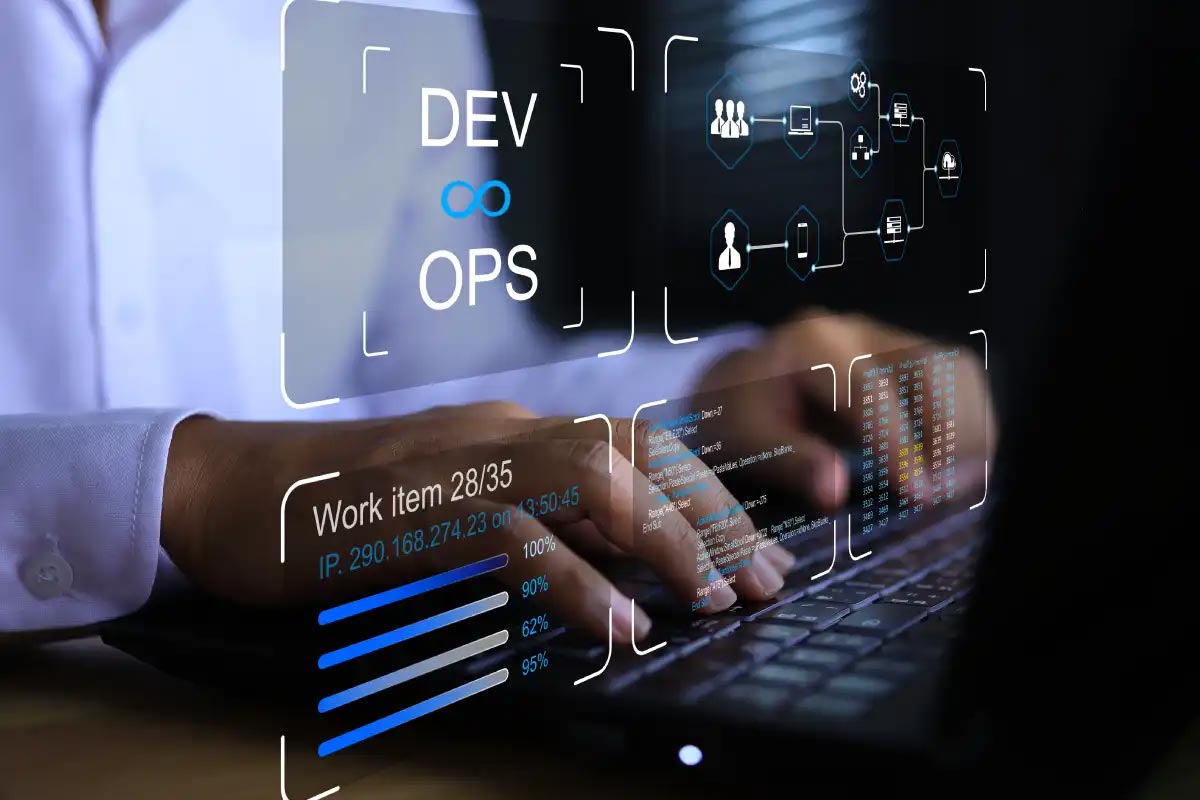
Perform a Continuous integration CI / Continuous Delivery CD flow in the implementation of a Node Js application project in an AWS EC2 instance from a Bitbucket repository.
Below, the solution diagram is shown, which will be working throughout the article.

Bitbucket repository structure:
Node Js application structure:


The “main.js” application that we will use for this demonstration example will display the message: "Hello Web server!"
    const http = require('http');
	const port = 3000;

    const requestHandler = (request, response) => {
        let funcName = "requestHandler";
        if (request.method === 'GET' && request.url === '/' ){
            response.writeHead(200, {"Content-Type": "text/html"});
            response.end('Hello Web server!');
        }
    };

    const server = http.createServer(requestHandler);

    server.listen(port, (err) => {
        let funcName = "server.listen";
        if (err) {
            return console.log(funcName, 'something bad happened: ' + err);
        }
});Enter the AWS console and go to the IAM service, from the left panel select the “Roles” option and create a new ROLE for the EC2 service, which will interact with CodeDeploy and be associated with the instance that we create later.
Make sure the following policies are included in the ROLE:

After creating the ROLE, edit the “Trust Relationship” option and add the following line: “codedeploy.us-east-1.amazonaws.com” as shown below, to also allow access to the CodeDeploy service.
If necessary, change the region in which you are working, in this example we are in the region of N. Virginia (us-east-1).

Inside the AWS console, go to the EC2 service and create a new instance with the desired operating system, in this example we will use an Ubuntu server version 18.04 and a “t2.micro” instance. In configuration details in the “IAM role” option, select the ROLE created in the previous step and leave the other options as default.

AWS CodeDeploy will search for the instance based on Tags; therefore, the instance(s) must be tagged in order to can be identified at the time of deploying. In this example will only use an instance and it will be tagged with the Key=Name and Value=InstanceToDeploy

Create a new security group and allow access by SSH, as well as the necessary ports to permit access to the application from the internet.

Once you have launched the instance and it is running, connect to the instance via SSH and install the CodeDeploy agent following the Official instructions for the selected Operating System.
If you choose the same OS as in this example, run the following command to ensure that the agent was installed successfully:
# service codedeploy-agent status
The following message should be displayed:

This Bucket will store the “Artifacts” that will be generated in CodeBuild, likewise, the CodePipeline service will also access the Bucket to take the “Artifact” and with the CodeDeploy service deploy the code into the EC2 instance(s).
    "s3Bucket": {
      "Type": "AWS::S3::Bucket",
      "Properties": {
        "AccessControl": "Private",
        "BucketName": "poc-workflow-martin",
        "Tags": [
          {
            "Key": "Description",
            "Value": "Created from CloudFormation template"
          }
        ],
        "VersioningConfiguration": {
          "Status": "Enabled"
        }
      },
      "DeletionPolicy": "Delete"
},When creating a CodeBuild project, it is necessary to indicate the source “repository” and the authentication method “Authentication”. These properties are referenced as parameters, for this reason, they will be requested when creating the CloudFormation stack.
Some important parameters of CodeBuild are described below:
    "WorkflowBuild": {
      "Type": "AWS::CodeBuild::Project",
      "Properties": {
        "Artifacts": {
          "ArtifactIdentifier": "work-poc",
          "EncryptionDisabled": true,
          "Location": {
            "Ref": "s3Bucket"
          },
		  "Name": "workflow.zip",
          "NamespaceType": "NONE",
          "OverrideArtifactName": true,
          "Packaging": "ZIP",
          "Type": "S3"
        },
        "BadgeEnabled": false,
        "Description": "Build for Workflow",
        "Environment": {
          "ComputeType": "BUILD_GENERAL1_SMALL",
          "Image": "aws/codebuild/standard:2.0",
          "PrivilegedMode": false,
          "Type": "LINUX_CONTAINER"
        },
        "LogsConfig": {
          "CloudWatchLogs": {
            "Status": "ENABLED"
          }
        },
        "Name": "POC-Workflow",
        "QueuedTimeoutInMinutes": 30,
        "ServiceRole": {
          "Ref": "BuildRole"
        },
        "Source": {
          "Auth": {
            "Resource": {
              "Ref": "RepoCredentials"
            },
            "Type": "OAUTH"
          },
          "BuildSpec": "config/buildspec.yml",
          "GitCloneDepth": 1,
          "Location": {
            "Ref": "Repository"
          },
          "ReportBuildStatus": true,
          "Type": "BITBUCKET"
        },
        "Tags": [],
        "TimeoutInMinutes": 60,
        "Triggers": {
          "FilterGroups": [
            [{
              "Pattern": "refs/heads/master",
              "Type": "HEAD_REF"
            },
            {
              "Pattern": "PUSH",
              "Type": "EVENT"
            }]
          ],
          "Webhook": true
        }
      }
},In CodeDeploy Application, the “ComputePlatform” property indicates the type of platform where the deploy will take place. In this example, when it comes to an EC2 instance corresponds the value “Server”.
    "WorkFlowDeploy": {
      "Type": "AWS::CodeDeploy::Application",
      "Properties": {
        "ApplicationName": "poc-Workflow-deploy",
        "ComputePlatform": "Server"
      }
    },
In the case of Deployment Group, the following properties should be indicated:
    "WorkFlowDeployGroup": {
      "Type": "AWS::CodeDeploy::DeploymentGroup",
      "Properties": {
        "ApplicationName": "poc-Workflow-deploy",
        "AutoRollbackConfiguration": {
          "Enabled": true,
          "Events": ["DEPLOYMENT_FAILURE"]
        },
        "DeploymentConfigName": "CodeDeployDefault.OneAtATime",
        "DeploymentGroupName": "poc-group-codedeploy",
        "DeploymentStyle": {
          "DeploymentOption" : "WITHOUT_TRAFFIC_CONTROL",
          "DeploymentType": "IN_PLACE"
        },
        "Ec2TagFilters": [{
          "Key": "Name",
          "Type": "KEY_AND_VALUE",
          "Value": "CodeDeployDirect"
        }],
        "ServiceRoleArn": "arn:aws:iam::030618954727:role/POC-codedeploy-role"
      },
      "DependsOn": "EC2instance"
},The following 2 stages will be created for the CodePipeline:
    "codepipeline": {
      "Type": "AWS::CodePipeline::Pipeline",
      "Properties": {
        "ArtifactStore": {
          "Type": "S3",
          "Location": {
            "Ref": "s3Bucket"
          }
        },
        "Name": "WorkflowDeploy_poc",
        "RestartExecutionOnUpdate": true,
        "RoleArn": {
          "Fn::GetAtt" : [ "CodePipelineServiceRole", "Arn" ]
        },
        "Stages": [{
            "Actions": [{
              "ActionTypeId": {
                "Category": "Source",
                "Owner": "AWS",
                "Provider": "S3",
                "Version": 1
              },
              "Configuration": {
                "S3Bucket": {
                  "Ref": "s3Bucket"
                },
                "S3ObjectKey": {
                  "Ref": "SourceObjectKey"
                },
                "PollForSourceChanges": false
              },
              "Name": "SourceAction",
              "OutputArtifacts": [{
                "Name": "SourceArtifact"
              }],
              "RunOrder": 1
            }],
            "Name": "Source"
          },
          {
            "Actions": [{
              "ActionTypeId": {
                "Category": "Deploy",
                "Owner": "AWS",
                "Provider": "CodeDeploy",
                "Version": 1
              },
              "Configuration": {
                "ApplicationName": {
                  "Ref": "WorkFlowDeploy"
                },
                "DeploymentGroupName": {
                  "Ref": "WorkFlowDeployGroup"
                }
              },
              "Name": "DeployAction",
              "InputArtifacts": [{
                "Name": "SourceArtifact"
              }],
              "RunOrder": 2
            }],
            "Name": "Deploy"
          }
        ]
      }
},The following resources are needed to complement the CI / CD infrastructure, of which they are included in the CloudFormation template “infra-workflow.json” that you can obtain in the next step.
Copy the CloudFormation template “infra-workflow.json” from the following repository:
Within the AWS console, go to the CloudFormation service and select the option to create a stack. Select the template previously downloaded and upload it to the console.

Enter the information of the following parameters correctly:

The stack should be created successfully:

The diagram of the “Stack” created in CloudFormation can found below:

version: 0.2

#env:
 #variables:
    # key: "value"
 #parameter-store:
    # key: "value"
phases:
 install:
   runtime-versions:
     nodejs: 10
   commands:
     - echo "Setting up NodeJS and Core..."
   #finally:
     # - command
 #pre_build:
   #commands:
     # - command
   #finally:
     # - command
 build:
   commands:
     - echo "Installing dependencies..."
     - cd nodeapp/
     - npm install
     - npm install express
     - echo "Build Done!"
   #finally:
     # - command
 #post_build:
   #commands:
     # - command
   #finally:
     # - command
     # - command
artifacts:
 files:
   - appspec.yml
   - 'nodeapp/*'
   - 'scripts/*'
   # - location
   # - name
 #discard-paths: yes
 #base-directory:
#cache:
#paths:version: 0.0
os: linux
files:
- source: /
destination: /home/ubuntu/myapp
hooks:
BeforeInstall:
- location: scripts/before_install.sh
timeout: 300
runas: root
AfterInstall:
- location: scripts/after_install.sh
timeout: 300
runas: root
ApplicationStart:
- location: scripts/application_start.sh
timeout: 300
runas: rootFollowing the structure of the repository, the scripts will be stored in the “Scripts” folder.
#!/bin/bash
npm install forever -g
apt install ruby-commander -y
#!/bin/bash
mkdir /home/ubuntu/myapp
cd /home/ubuntu/myapp#!/bin/bash
# Star app
forever stopall
forever start /home/ubuntu/myapp/nodeapp/main.js
Once the repository structure has been validated, perform a git push or merge to the “Master Branch” and validate the CI / CD flow.


Open any browser and enter the public IP of the EC2 instance specifying the port 3000 (for example: http://3.89.7.165:3000). The following output should be displayed.

Now, make a change to the application code, for example: change the message by "The deploy was successful!". Redo the git push or merge to the "Master Branch" and refresh the browser.
As shown in the following image, the deployment was performed successfully following the CI / CD flow.
In this article we showed step by step how to create and validate a CI / CD infrastructure towards an EC2 instance, as well as the creation of the CloudFormation template. In addition, with a CI/CD infrastructure, we have less effort and more confidence when deploying code to the production stage, by releasing the code immediately, fault isolation is simpler and quicker which helps a lot to improve teamwork, among many other advantages that can be adjusted to our needs.