
This article describes how to create an RDS MySQL instance from scratch using the AWS console. It also describes some of the properties required to obtain a functional instance.
Create a MySQL instance from scratch on Amazon Web Services (AWS) using RDS.
Before starting, consider the following points:
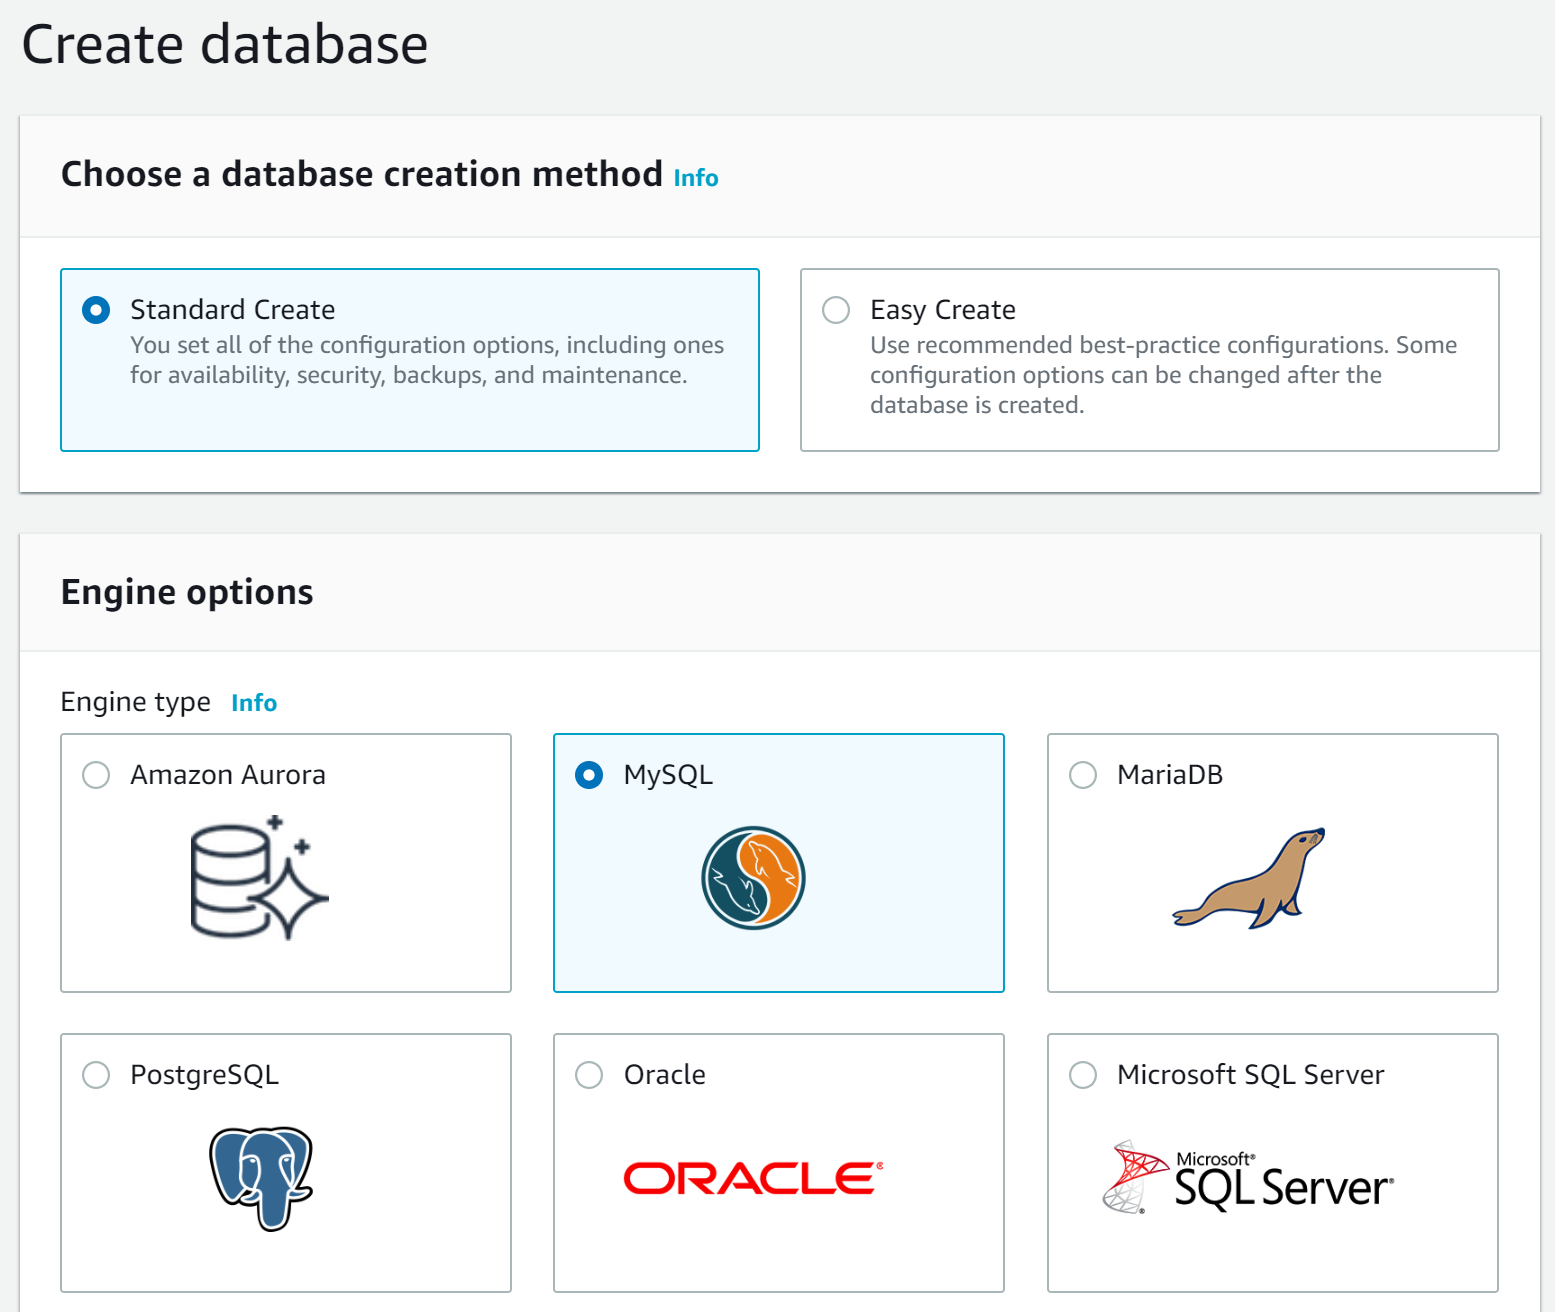
Go to AWS console and navigate to RDS service, from the left panel select the “Databases” option and tap on the “Create database” button, then the create database page should be displayed. Leave the “Standard Create” option chosen and change to MySQL as the engine.
For the engine version, we will work with the 8.0.16 but if you need a specific version for compatibility reasons feel free to change it. Next, dropdown the “Version” options and choose “MySQL 8.0.16”

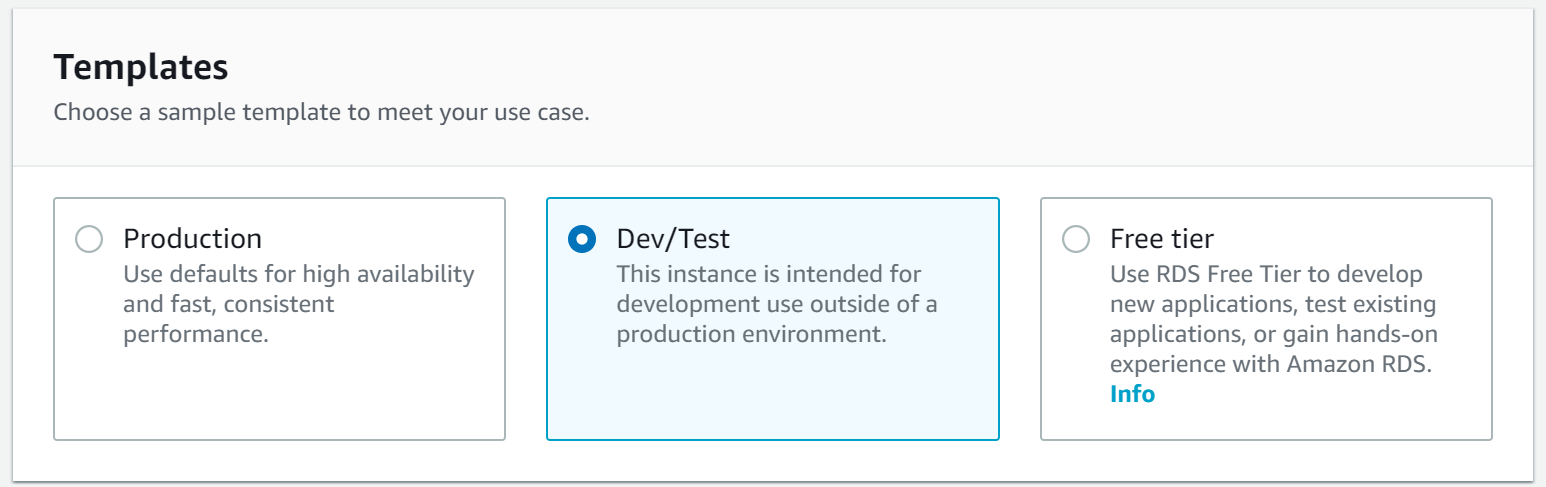
Depending on the chosen option, in the next section, the default settings will be shown. To continue, select the “Dev/Test” option.
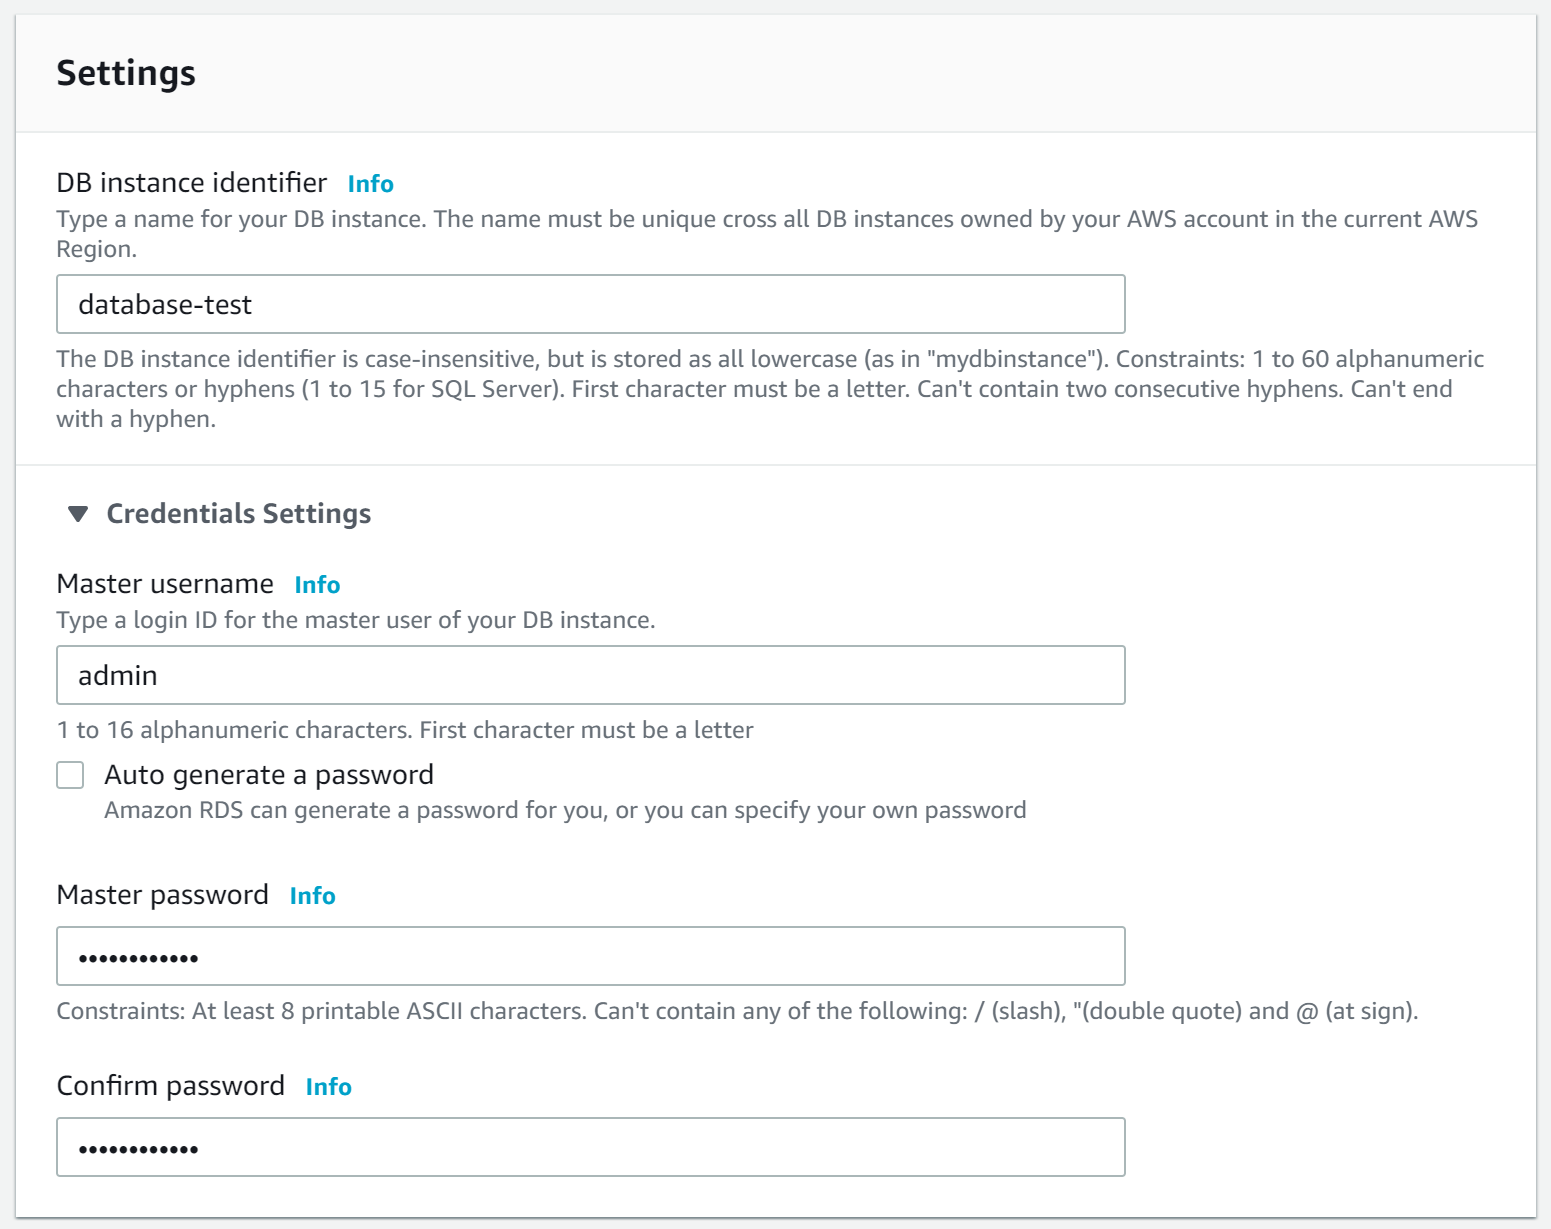
Specify the following properties:
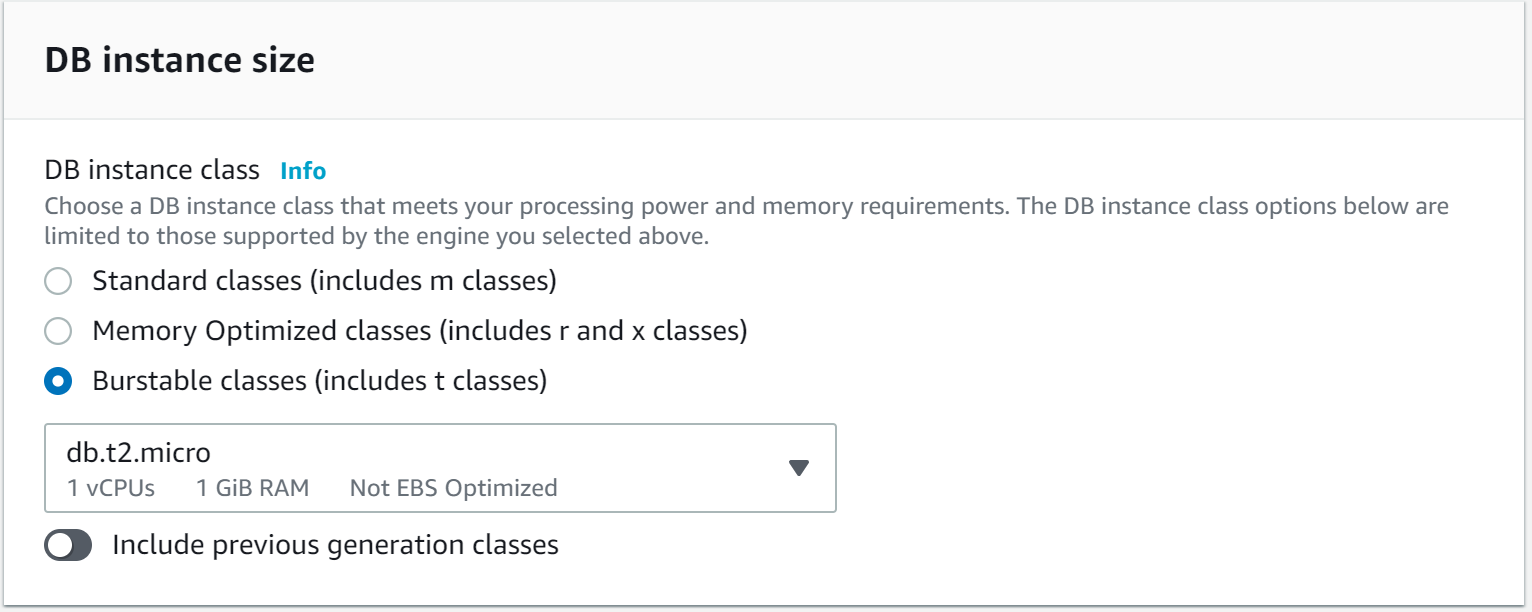
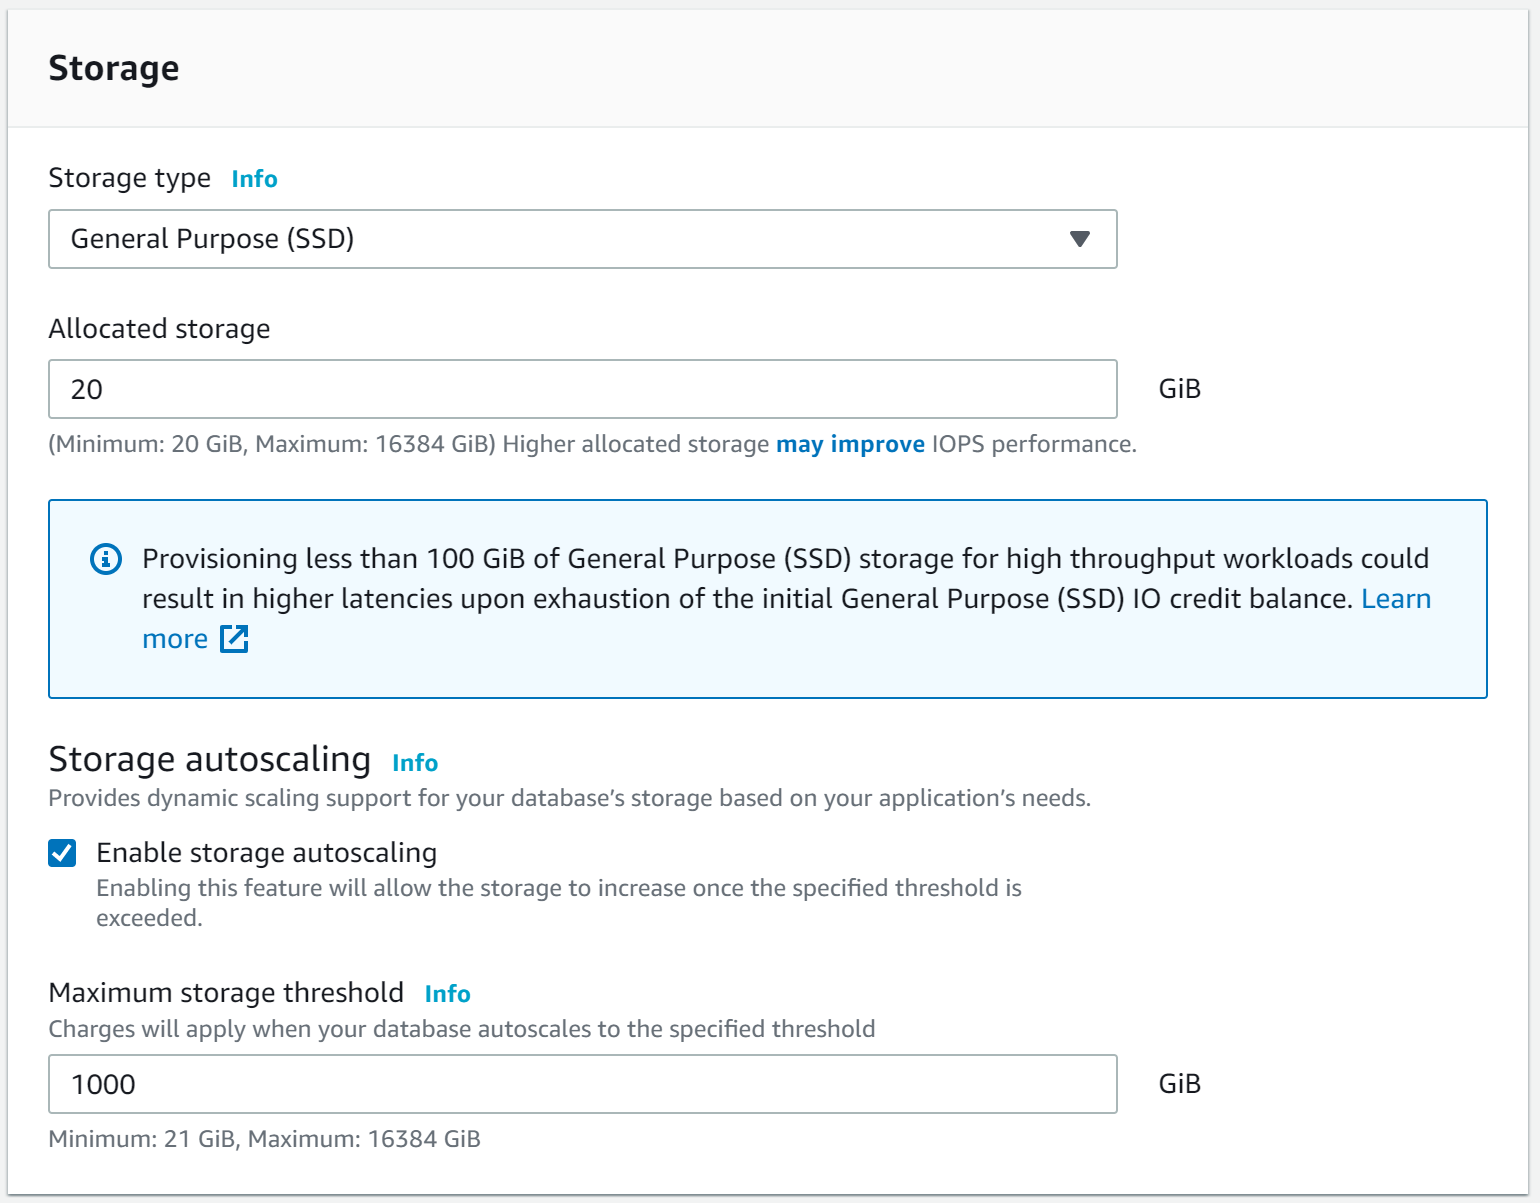
According to the computational, network, and memory capacity of the DB instance, select the “Burstable classes (includes t classes)” option and choose “db.t2.micro”. For the storage section, we can leave the default values.
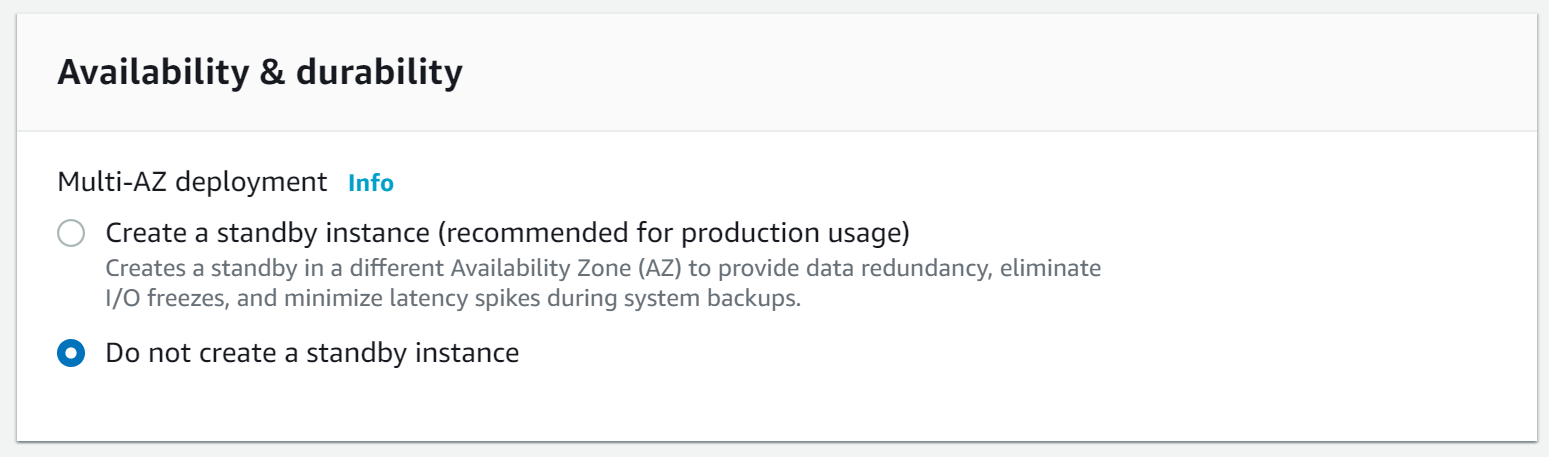
The “Multi-AZ deployment” option helps to maintain a synchronous standby replica in a different Availability Zone, nevertheless, for the purpose of this article select "Do not create a standby instance".
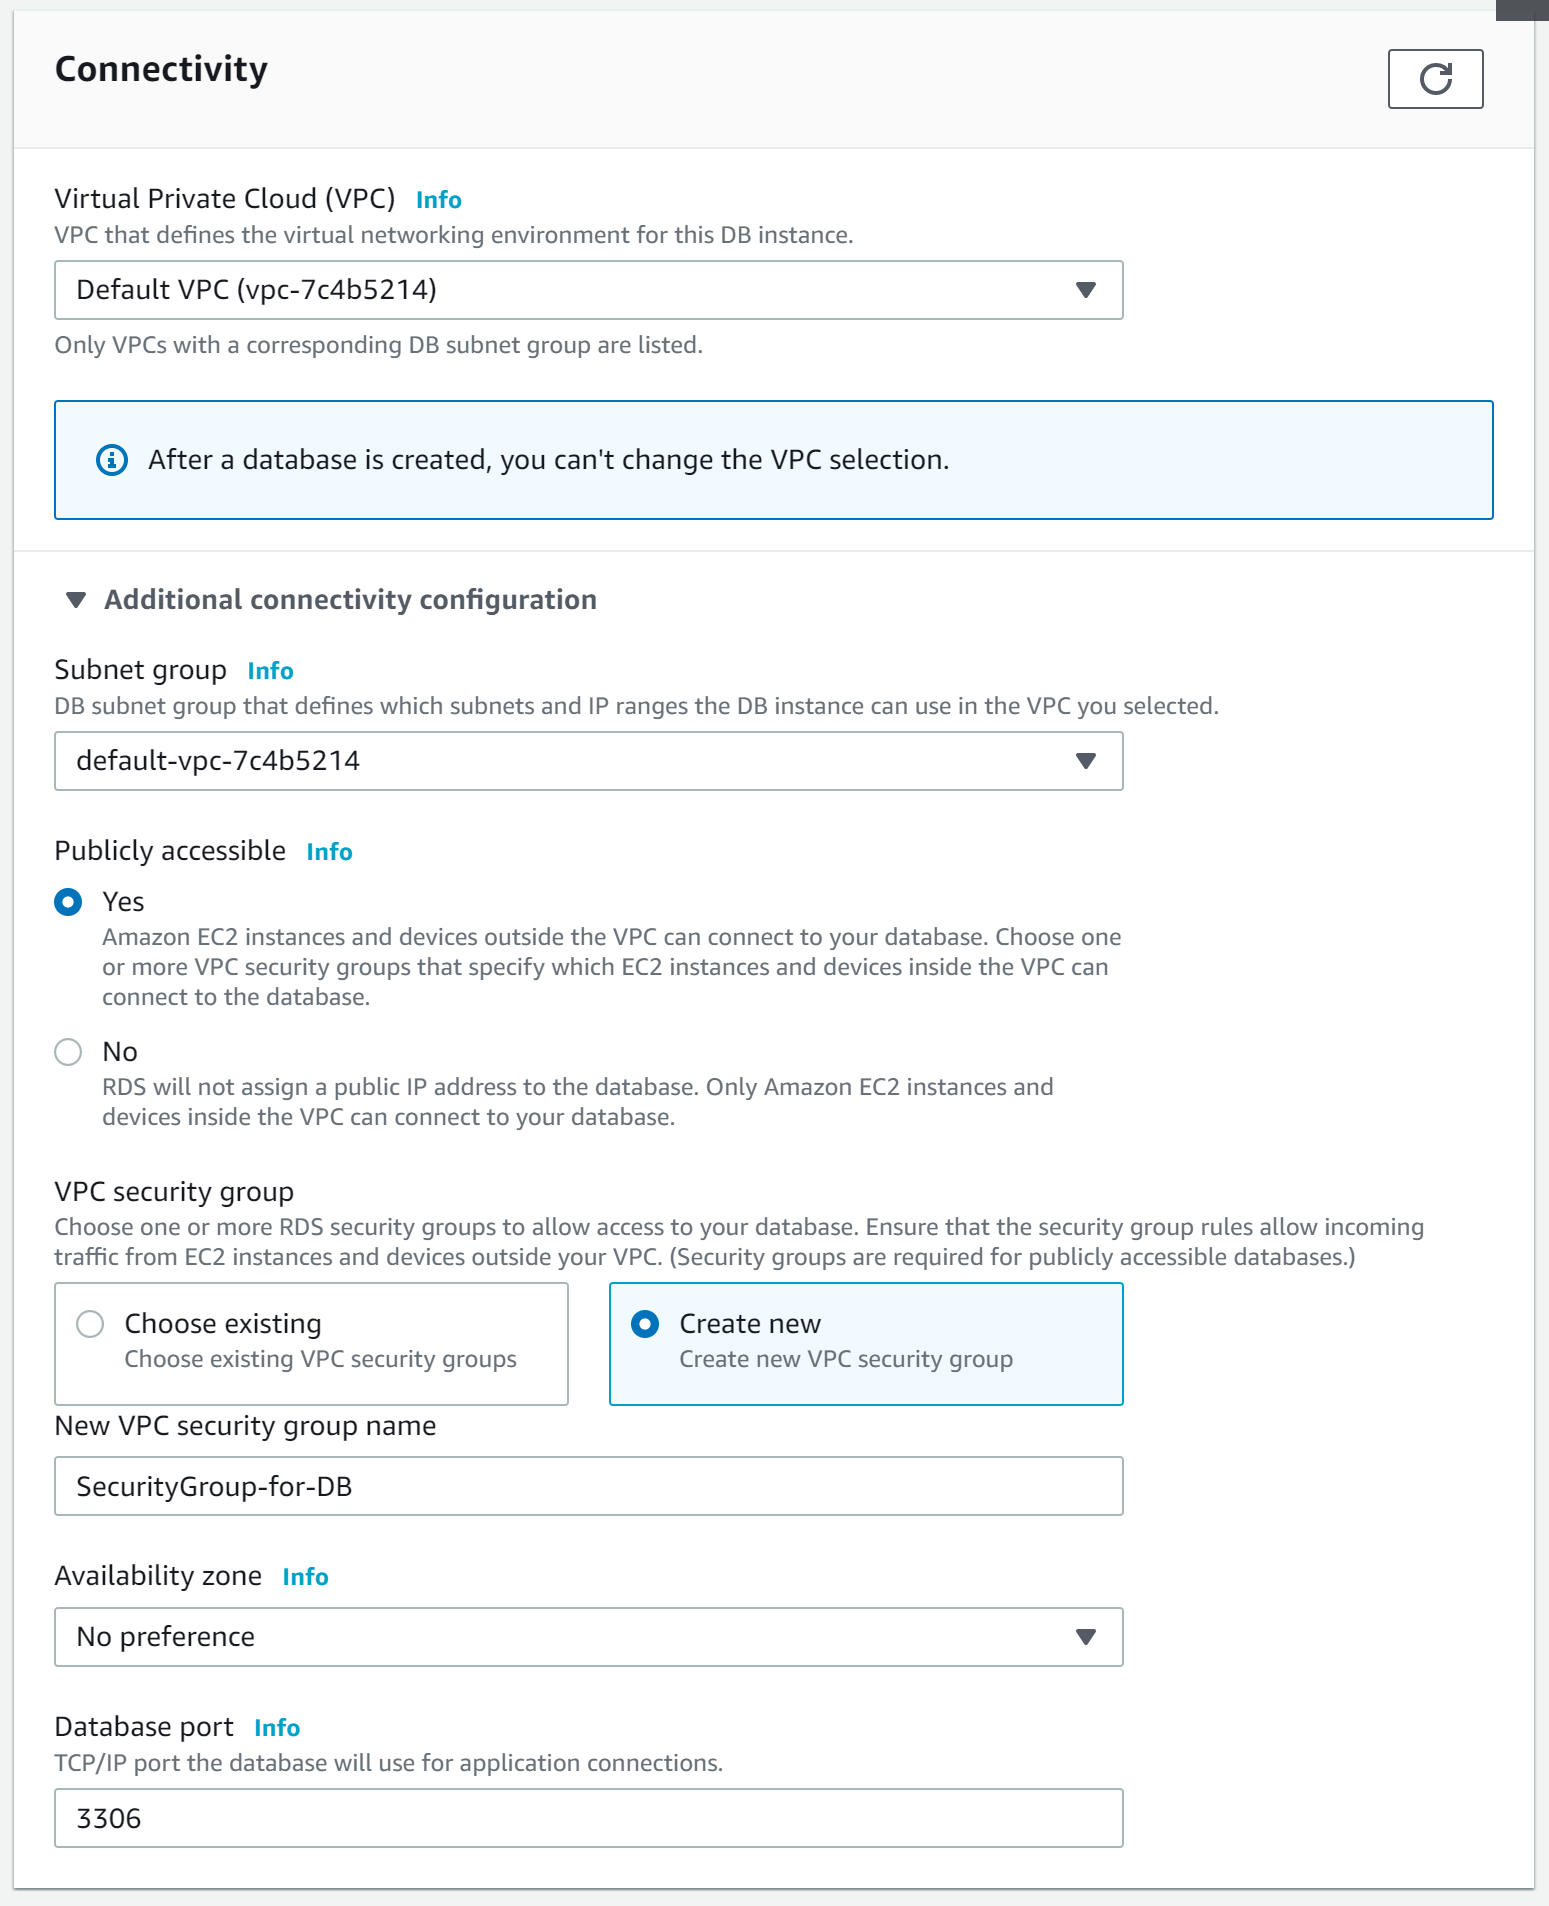
In the “Virtual Private Cloud (VPC)” choose the Default VPC and drop down “Additional connectivity configuration” options:
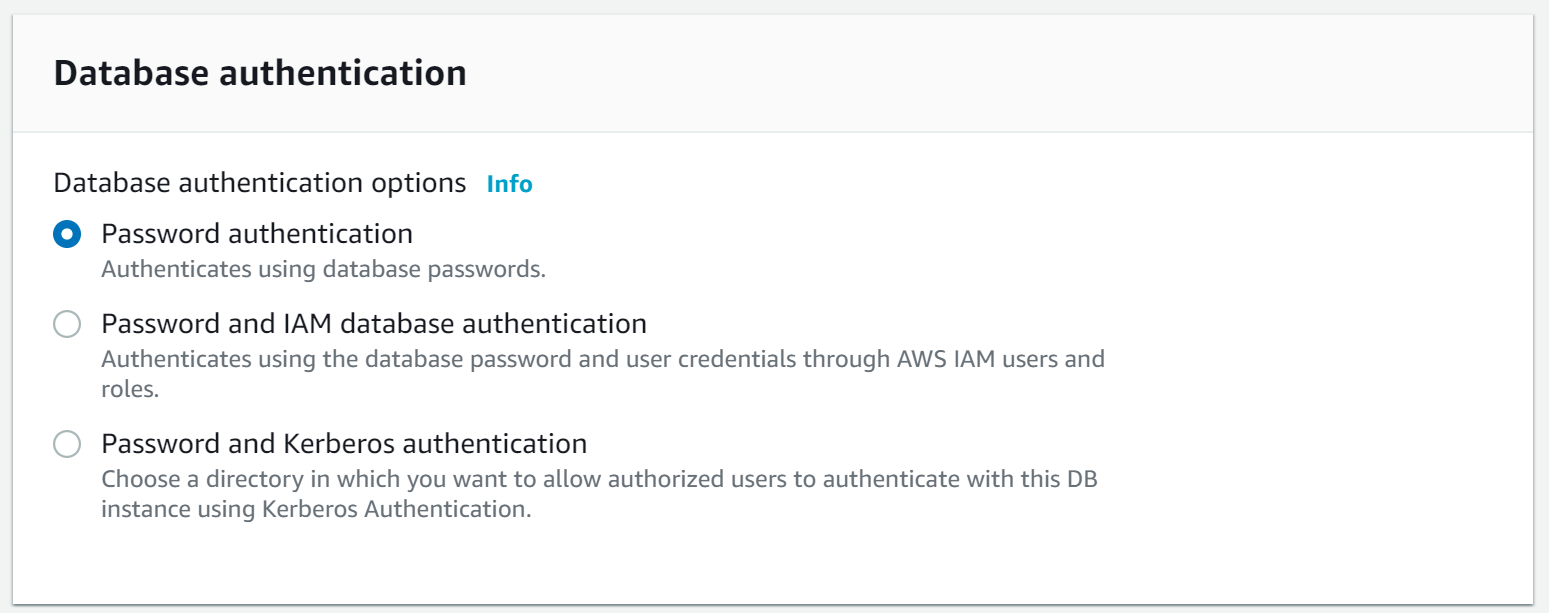
We use the password created in step 3 as an authentication method, thus selecting the “Password authentication” option.
The “Additional configuration” section can stay as default.
One more time review the RDS instance configuration and once validated tap on “Create database” button, the instance creation process will immediately run and after a few minutes it should be ready.
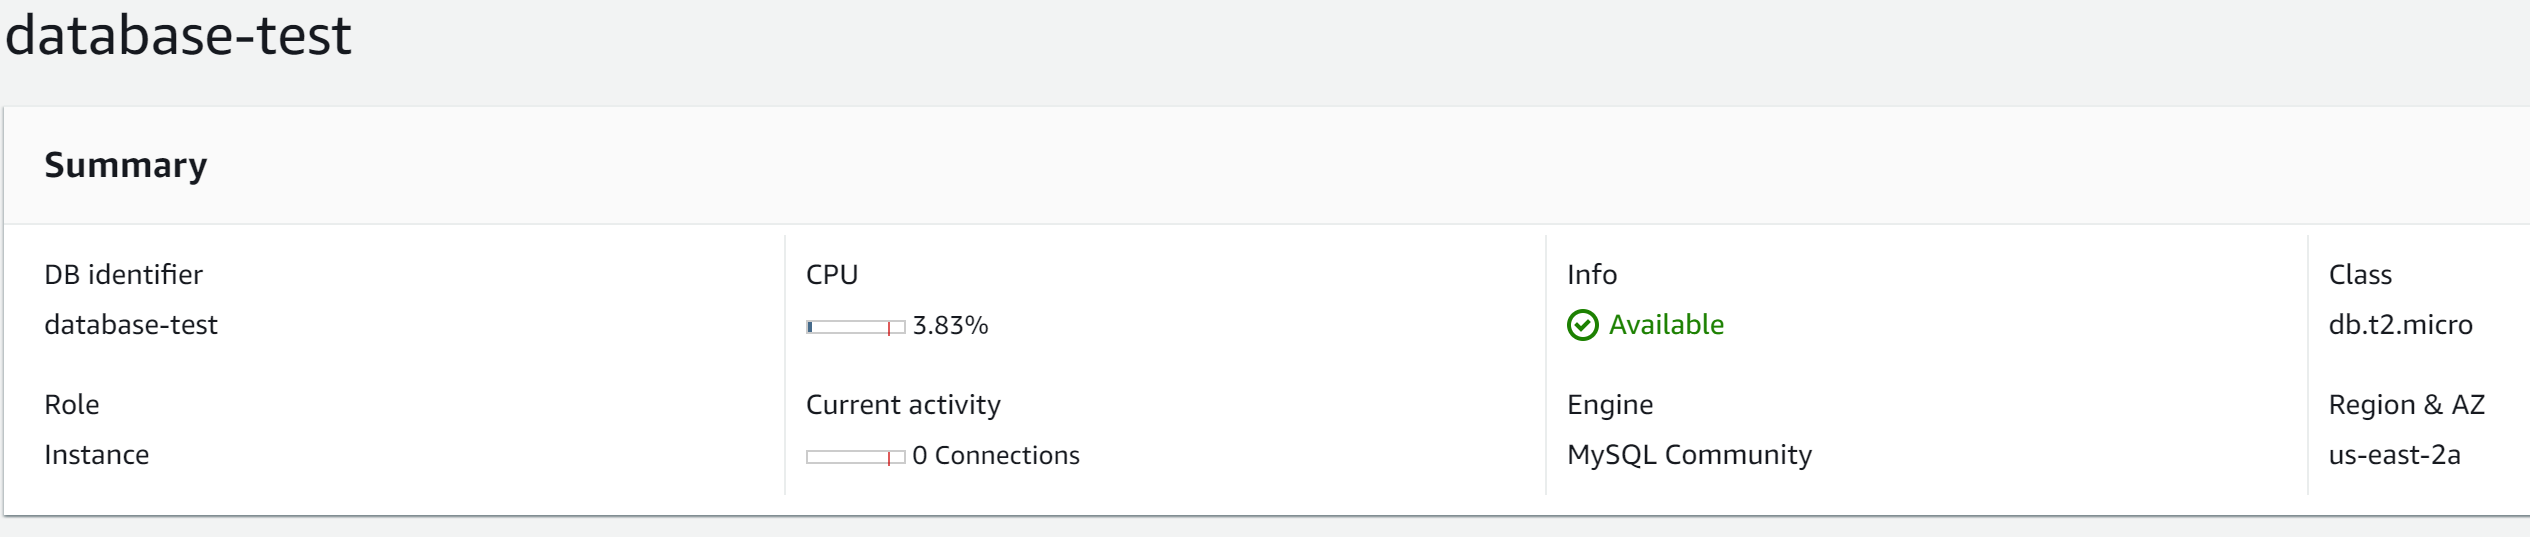
Now is possible to connect to the database through a MySQL client, just use the generated endpoint as the "host" in the process of creation of the database, as well as the username and password.

In this article, we showed how to create an RDS instance from zero in AWS, where we have great advantages such as automatic backups, security, performance, high availability, vertical and/or horizontal scaling. In addition, AWS offers simplicity to create different types of database instances (Amazon Aurora, PostgreSQL, MySQL, MariaDB, Oracle Database, and SQL Server).
In future articles, we will cover more complex scenarios like securing the network access to the RDS database using Security Groups, improving network latency and security communication with VPC endpoints, and how to take advantage of a multi-AZ setup.