Create a CD/CI Pipeline for version control and code deployment of an AWS Lambda using AWS Developer Tools in the simplest way.
Popular version control platform based in git, is used as code repository and version control for software changes, it can be substituted by AWS CodeCommit.
Is a Continuous delivery tool that provides an orchestration for Code Deployment or infrastructure changes.
It is a continuous delivery tool for compile, run test, and create deployment packages.
It is an automatic system for software deployments, it automatizes the software implementations for Amazon EC2, AWS Fargate, AWS Lambda and local servers.
Serverless compute platform to run small pieces of code as functions on demand.
In AWS IAM create a role called “AWSLambdaDeployRole” and attach to it the policy “AWSCodeDeployRoleForLambda”.
We need a Git repository in which our code is going to be located and where the source code is taken for the deployment, in this case we use GitHub, but you can easily use AWS CodeCommit for this propose.
In this first we only need your Lambda code in the language of your preference.
Create a new Lambda function and create a new publish version with a new alias for it, you don’t need to upload the code yet.
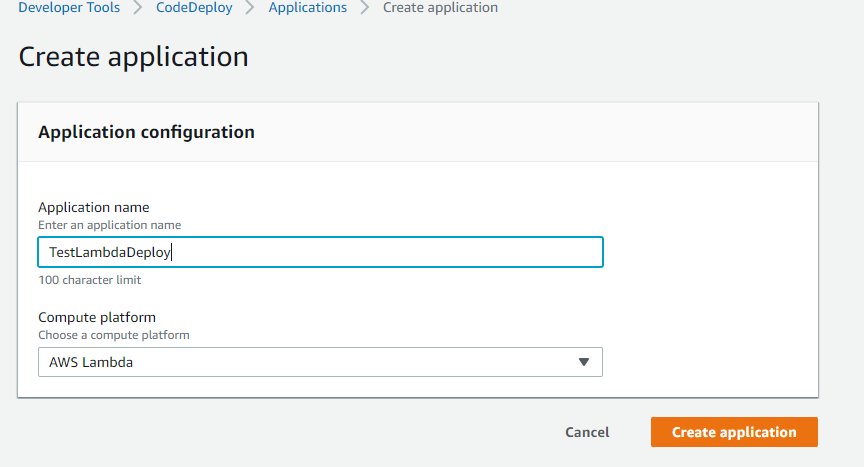
In AWS CodeDeploy create a new Application, set a name and select “AWS Lambda” as Compute Platform.
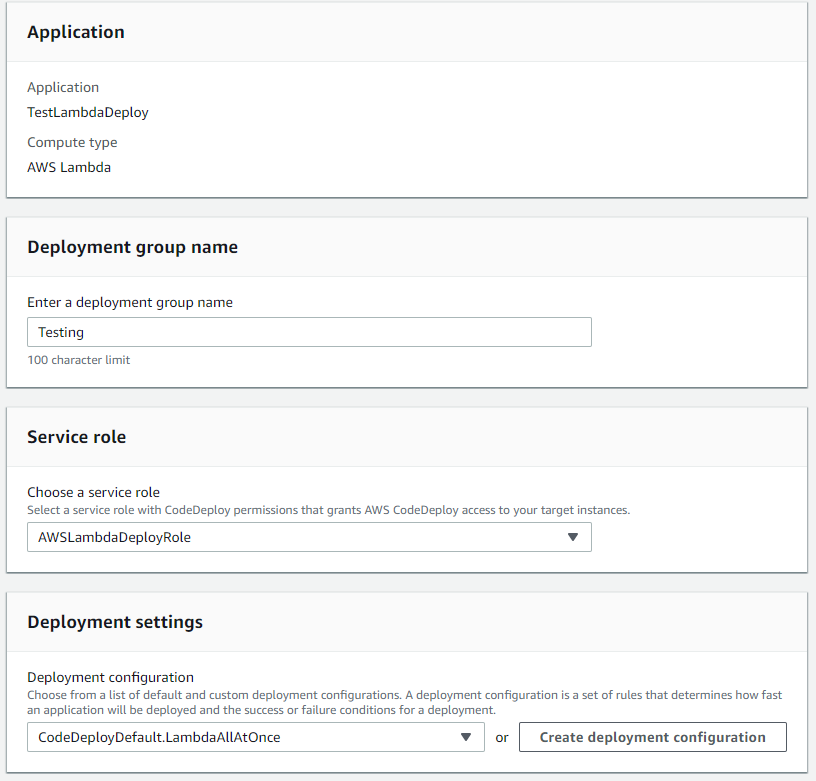
Now we need to create a new deployment group, set a name, select “AWSLambdaDeployRole” as service role and let “CodeDeployDefault.LambdaAllAtOnce” as deployment settings.
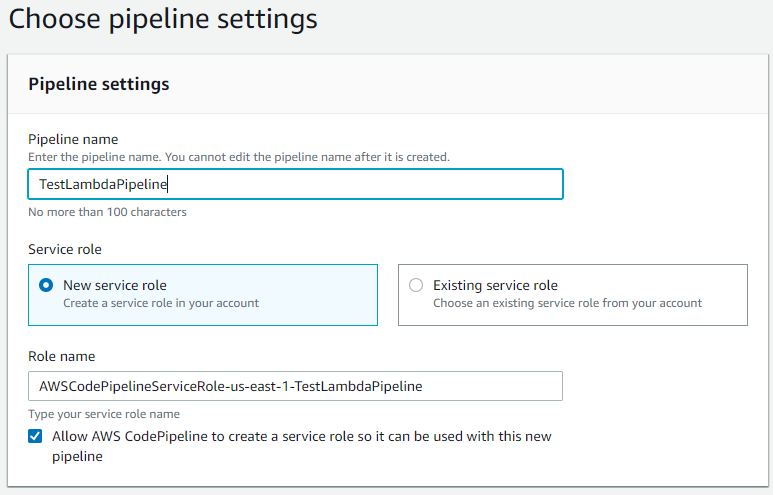
In AWS CodePipeline create a new Pipeline, set a name for it, as Service Role select “New Service Role” and set “AWSLambdaPipelineRole” as role name, let checked “Allow AWS CodePipeline to create a service role so it can be used with this new pipeline”, click on next.
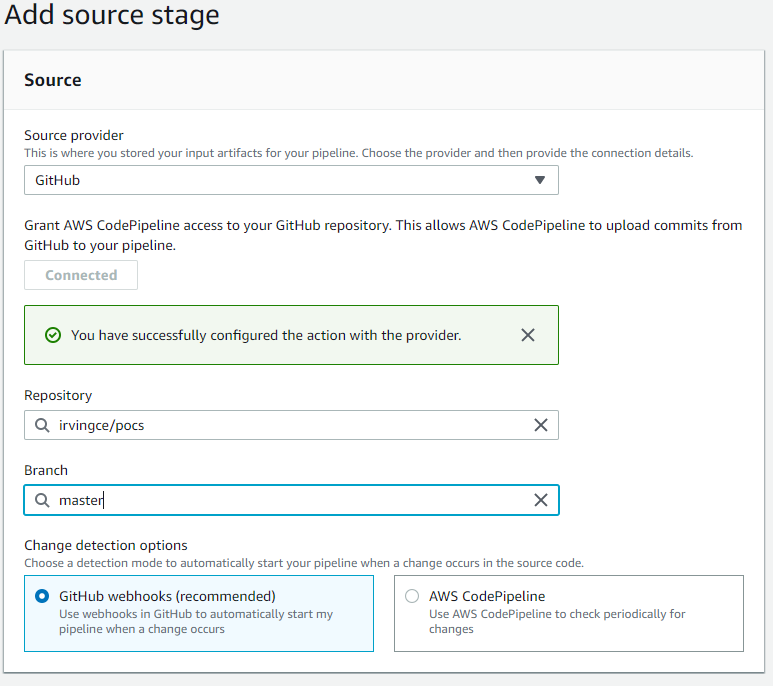
As source provider select “GitHub” (or AWS CodeCommit if it is your case), click on “Connect to GitHub”, in Repository select the one in which you have the Lambda code to deploy and in Branch, select the branch to deploy automatically when a change is pull on it and in Change detection option let “GitHub Webhooks”, click on next.
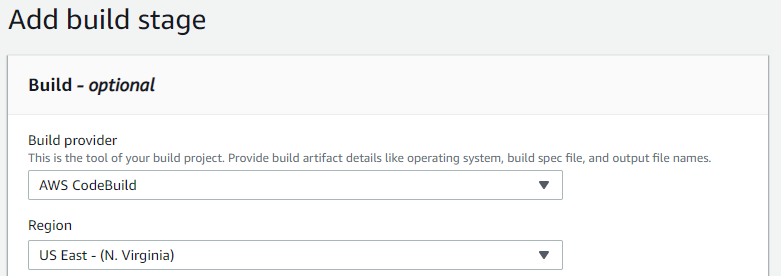
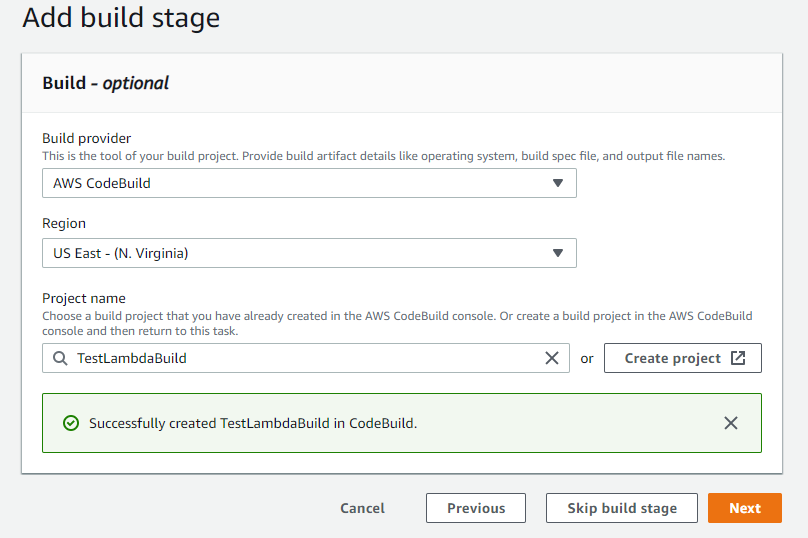
In Build Stage select “AWS CodeBuild” as Build provider, verify the region is the same in which you create the AWS CodeDeploy Application and the same for your pipeline.
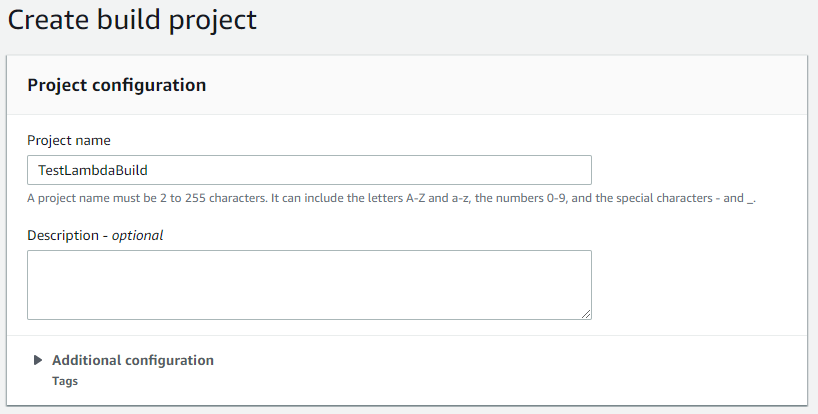
Click on “Create project” this should launch a new window for AWS CodeDeploy project configuration, set the project name.
In environment section select “Managed Image” as Environment Image, “Ubuntu” as Operating System, “Standard” as Runtime, “aws/codebuild/standard:2.0” as Image and select “Always use the latest image for this runtime version” as Image version.

For Service Role select “New service role”, let the default Role name.

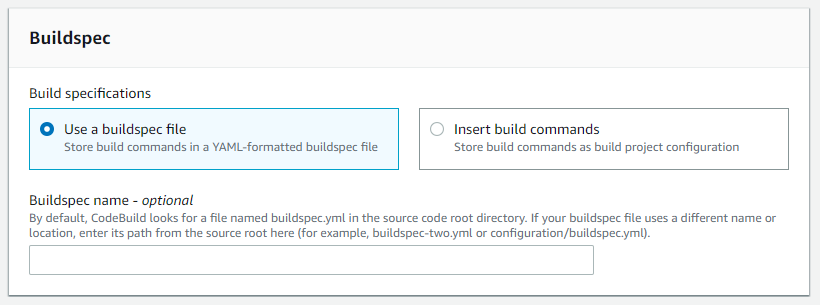
For Buildspect section select “Use a buildspect file” and set “configuration/build.yml” as the buildspect name.
Let everything else as default and click on “Continue to CodePipeline”, back to CodePipeline click on Next.
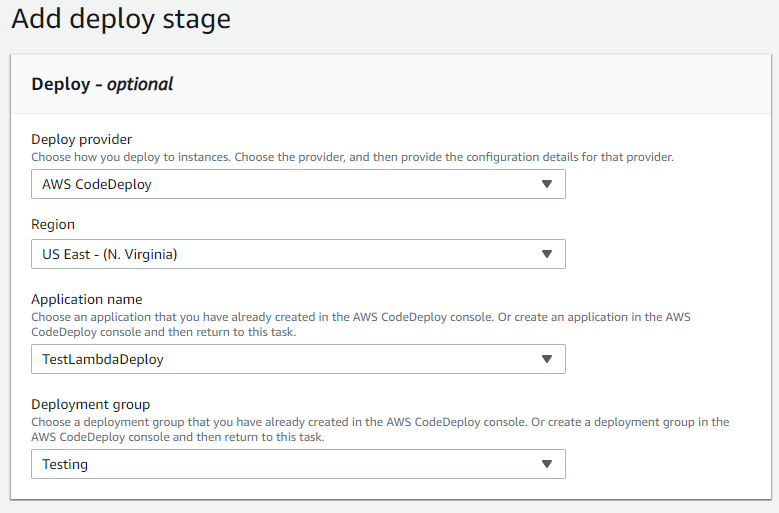
Now in the Deploy Stage, select “AWS CodeDeploy” as Deploy provider, set the region the same as codepipeline and codebuild, select the previews created Deployment application in Application Name and select the Deployment group as well and go to the next stage.
Review the information is correct and click on “Create Pipeline”.
Note: This action launches the pipeline, it is going to fail in Build stage because we have not the build and deploy configuration files.
This is the most important one, here we are going to download dependencies, build, package and upload the code into the Lambda, see the following file example.
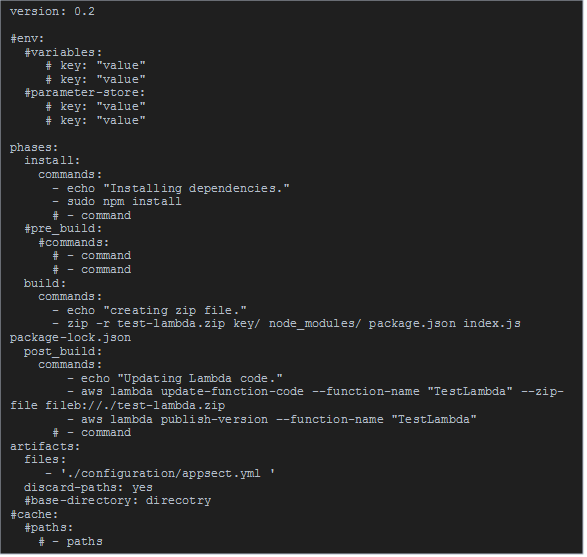
aws lambda update-function-code --function-name "$LambdaFunctionName" --zip-file fileb://$PATH_TO_CODE and aws lambda publish-version –-function-name "$LambdaFunctionName" for create a new release.You need to create a “build.yml” file like this inside “/configuration/” folder for your git repository, I recommend do it in your local and wait to push your changes until you have built and deployed configuration files.
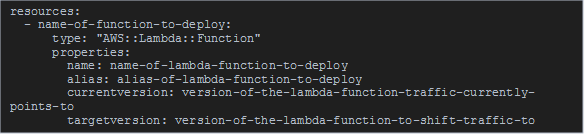
For this case, CodeDeploy is used for update Lambda version and create new releases, for this propose we need to create a “appspect.yml” file inside “/configuration/” folder, please look the following example.
This change the traffic from the current Lambda release to the new one we release each time a change is made in our branch, just remember update the currentversion and targetversion.
This path is very useful, fast and require less maintenance. I highly recommend it for Lambda projects that no require more infrastructure than the source code and API Gateway for example. You just need to be aware of the versions sets in the appspect.yml file and you are going to be good.